The other day I spotted a mountain biker riding by.
He was heading up to the trails behind my apartment to see if they had dried out in the unusually warm spring.
But what struck me wasn’t the fact that he was early for the season. It was what he was wearing.
While his jeans, vans, and cotton t-shirt are perfectly acceptable streetwear, they were no match for the muddy, 2,000-foot vertical climb that lay ahead of him.
But he is not alone. Since mountain biking exploded last summer, I have seen new riders everywhere venture out onto the trails in all sorts of gear.
So whether you’re new to the sport or a veteran, here is a checklist of what you need to wear mountain biking.
What to Wear Mountain Biking Checklist
Disclaimer: This article may contain affiliate links.
1) Get a Helmet
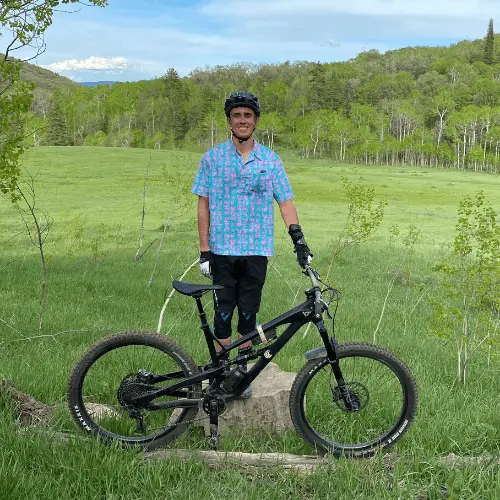
A helmet is the most important thing you can wear on your mountain bike. Thankfully, the days of uncomfortable and ugly helmets are long gone. Today you can find a variety of cool-looking helmets in a wide range of colors.
With helmets, sizing is everything. Take the time to try on some helmets and read the size chart.
I recommend that you get a helmet with MIPS (multi-directional impact protection system). These are the most technologically advanced helmets you can buy. If you’re on a budget, I like the Giro Fixture. Personally, I wear the Troy Lee Designs A2. It fits my big head well.
2) Cover Your Eyes
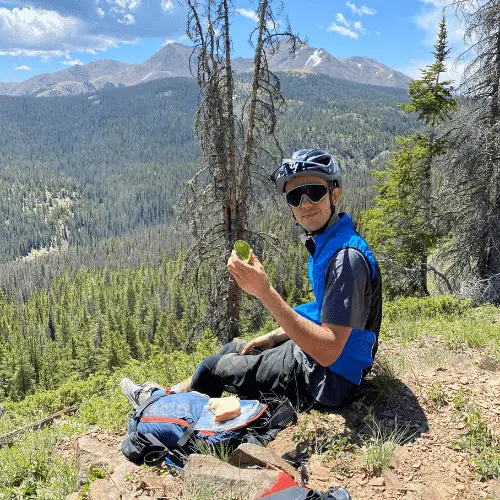
You might be like me, at first, I never wore sunglasses when I rode my bike. But now, you would be hard-pressed to find me on the bike without a pair of glasses.
You want to wear eye protection because it keeps the dust, dirt, mud, and branches out of your eyes. Getting something in your eye is no big deal when you’re climbing, but when descending, getting something in your eye is a severe situation.
There are multiple options for eye protection. On the cheap side, any clear safety glasses from the hardware store will work well. Pit Vipers are very popular right now and fall in the middle of the road price-wise. Or you can opt for premium quality lenses from a big brand like Oakley, Smith, or 100%.
3) Opt for a Moisture Wicking Jersey over a T-Shirt
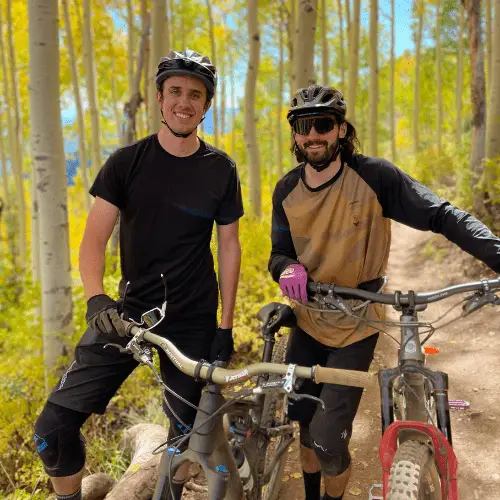
With your head protected and your vision clear, it’s time to talk about what to wear on your torso.
The rule of thumb here is to avoid cotton at all costs. Cotton is not breathable and does not wick sweat well. Instead, opt for something made out of polyester, wool, or another synthetic fabric.
You’ll change this layer depending on the weather. If you live somewhere cold, choose a long sleeve jersey and add on either more insulation or a waterproof shell. During the warm months of summer, a t-shirt jersey will suffice.
With jerseys, you don’t have to spend a lot of money. In fact, I recommend that you don’t. You will probably crash in it and rip it at some point.
Instead, I recommend going to your local department store and picking up house-brand athletic shirts. These will work just fine and save you some money. If you want to keep it stylish, get neutral colors like black, grey, white, and navy.
You can also go the name-brand route and get mountain bike-specific jerseys. These will cost more, but they will have some cool designs and features the plain athletic shirt won’t.
4) Grab some Gloves
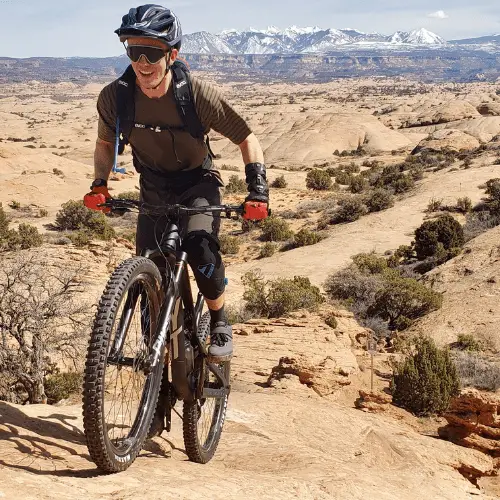
Have you ever taken a fall and ripped up your hands? Well, I have, and it sucks.
While hands do heal surprisingly quickly, I recommend always riding in mountain bike gloves. Gloves aren’t super expensive, and you can find various styles to match your personality.
If you’re riding somewhere warm, Dakine and Giro make a great trail glove. If it’s colder where you ride, I recommend checking out Giro’s thermal glove.
5) Don’t be Scared of Chamois
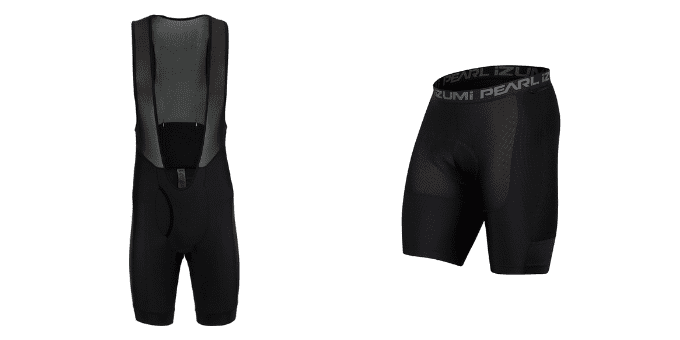
Chamois (aka liners or bibs) are the dark horse of mountain bike gear. No one talks about them, but they will make a drastic difference in your mountain bike experience.
Chamois are essentially padded underwear. They give you a little extra cushion between your bottom and the hard saddle.
Don’t skimp when it comes to chamois. Good quality ones will literally save your ass. I recommend that you get a nice pair. You can opt for bibs if you want, but I like to buy good quality shorts that include a removable liner.
I like this pair of Giro shorts with the included liner and this cargo bib if you want to go that route.
6) Don’t Skimp on the Shorts
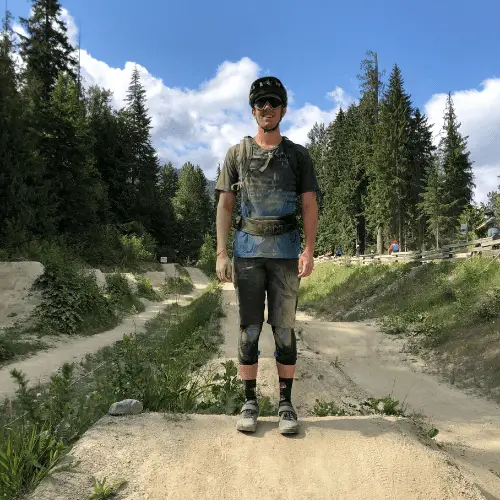
Do yourself a favor and get a pair of good-quality mountain bike shorts. Your shorts will take a lot of abuse, and you want something tough enough to take a fall but light enough to pedal in easily.
A good pair will last you for years to come. One of my pairs of Troy Lee Designs shorts is four years old, and I don’t plan on retiring them anytime soon.
I recommend any of the Troy Lee Designs shorts, specifically the Ruckus shorts.
You could also substitute pants for shorts if you live in a cold climate or want extra protection. Typically, pants are only used for downhill riding, but brands like RaceFace are make that can be pedaled in.
7) You Need Knee Pads
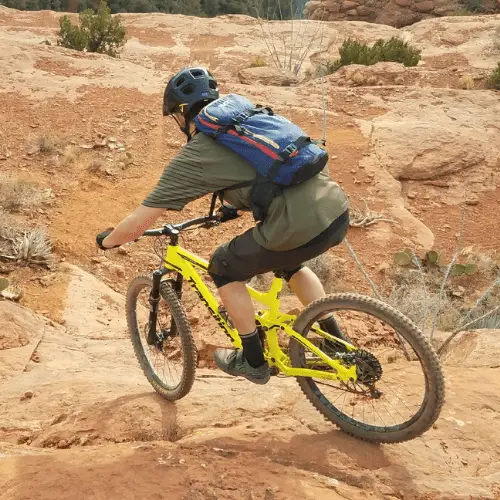
Next, you want a set of knee pads. Riding without pads is dangerous, and a simple wash out in a turn or a fall climbing could potentially ruin your ride and the weeks to come.
With knee pads, consider two things. First, you need to consider how much protection you want. Are you doing mellow trail rides, pushing yourself on an enduro bike, or riding downhill? Lighter options will offer a little less protection, while heavy pads will protect you well but make it tougher to pedal.
Then, you need to get the right size, so they don’t slide down your thigh during the ride. This is pretty simple. Just measure your upper thigh with a tape measure or as directed on the pad’s size chart.
I wear the 7 Protection’s Sam Hill Knee Pad for my style of riding, long single track days, and riding downhill trails on a trail bike. The Dakine Slayer is another good option.
8) Socks
You also need some socks. Cotton socks are the cheapest option. Wool and synthetic socks will wick moisture the best. For long rides, I use wool, for a quick lap, under an hour, you’ll find me in black Nike socks.
Whatever you decide, get a couple of pairs. You’ll go through them quickly.
9) Bike Shoes Matter
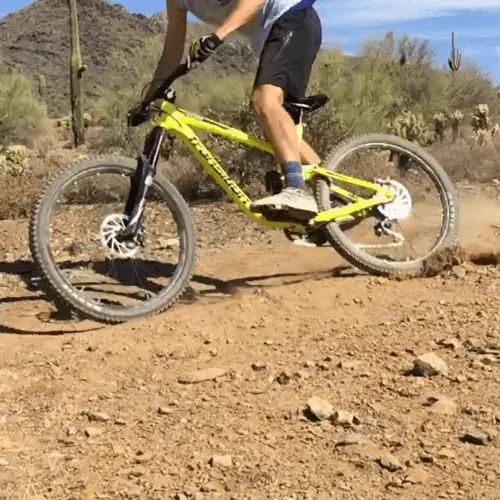
Your hands, feet, and bottom are the only contact points you have on the bike. I recommend spending some extra money on these areas.
For shoes, if you’re riding flat pedals, you can wear a flat bottom skate shoe, but avoid running shoes and hiking shoes at all costs. However, I do recommend that you get a flat pedal-specific pair of mountain bike shoes. These shoes will have super grippy rubber and a stiff insole to support you on rough tracks.
If you’re riding clipless, you have to wear a pair of mountain biking shoes. My only word of advice here is to match the shoe to the discipline you ride. Don’t ride the bike park in a carbon fiber cross country shoe, and don’t ride cross country in a heavy downhill shoe.
For clipless shoes I recommend the Giro Camber. For flats the Five Ten Freerider. They are both great shoes and will last multiple seasons.
Your Experience Isn’t Determined By Your Gear
This blog talks about what to wear mountain biking. But with that being said, I understand mountain biking is really expensive. Don’t let the price of the gear scare you away. If you can only ride in a pair of jeans, do that, you will still have a great time.
I am trying to cut down on how much I consume. I wrote this blog to help newer riders who are getting into the sport. But it’s a good reminder that I don’t have to have the latest gear to have fun.


Comments are closed.